Load Balancer as a Service Quick Start
This quick start assumes you have a VM set up with SSH and a webserver that you want to expose. The steps included are applicable to other ports and services too. This example assumes you’ve configured your machine following Running an NGinX webserver inside a Docker container. The steps will be similar for bespoke systems too.
First we will create a load balancer and use it to provide ssh access to a VM initially, then add another listener and pool to point to the webserver on the VM.
Create a Loadbalancer
In the Openstack web interface, expand Network and then click Load Balancers on the left hand side of the screen.
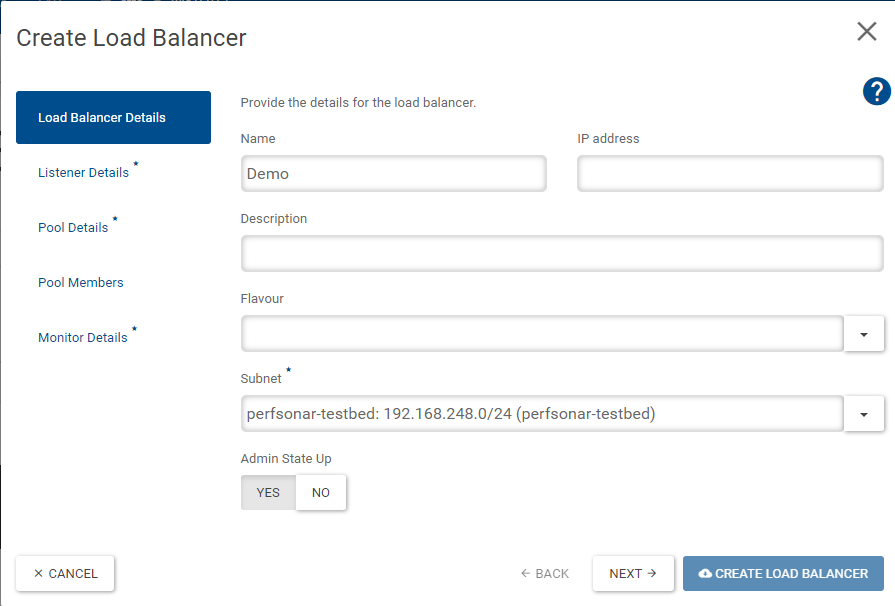
Click “Create Load Balancer”

On the “Load Balancer Details” screen enter a name for the load balancer and select the subnet for your projects private network. Leave the IP Address and Flavor fields blank. Then click “Next”
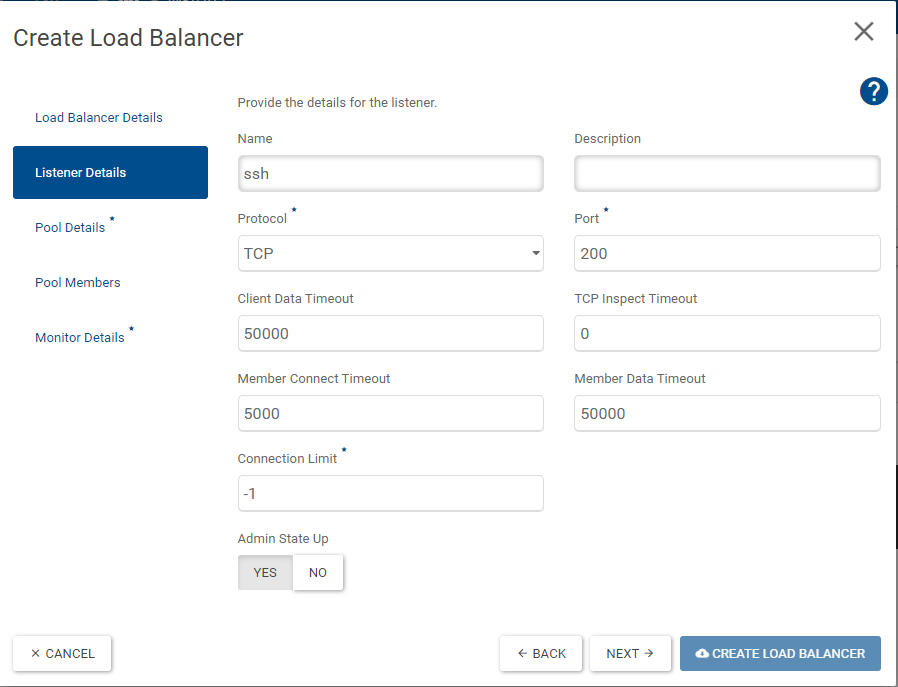
On the “Listener Details” screen select Protocol TCP and set port 200 (which we’ve randomly selected). To avoid conflicts it’s best to select random port numbers greater than 1024. Enter the name as ssh. The other defaults are fine. Click “Next”
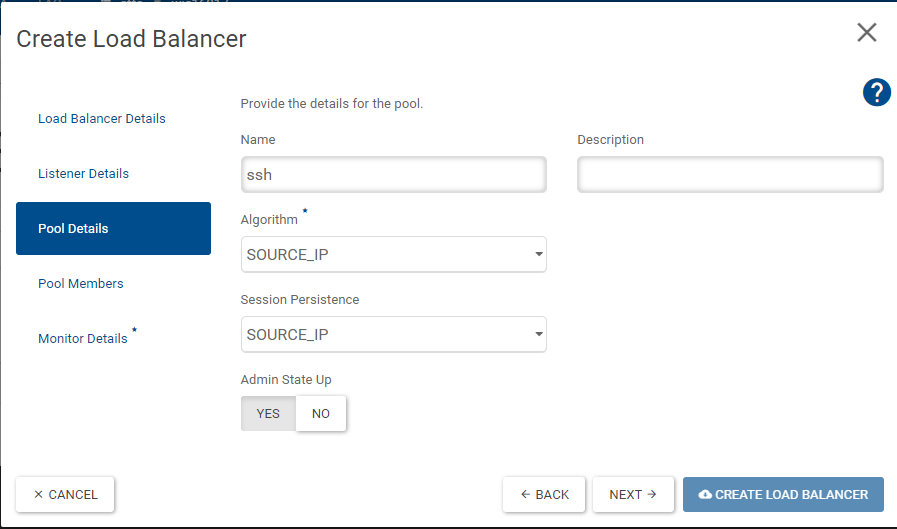
On the “Pool Details” screen enter the name as SSH and set the Algorithm and Session Persistence to “Source IP”. Click “Next”
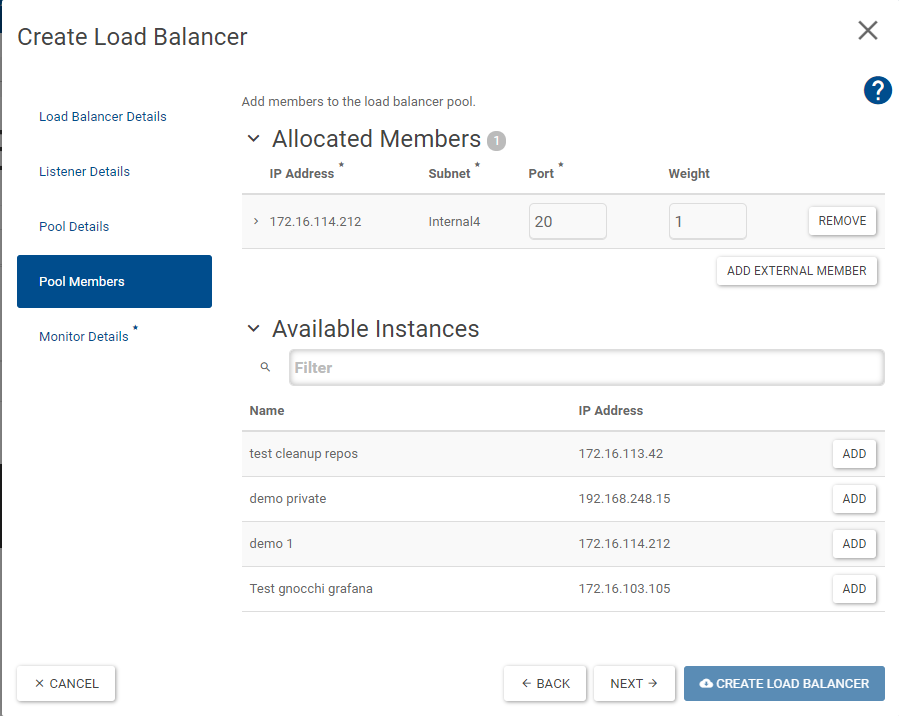
On the “Pool Members” screen add the VM you want to point at and set the port to 22. Click “Next”
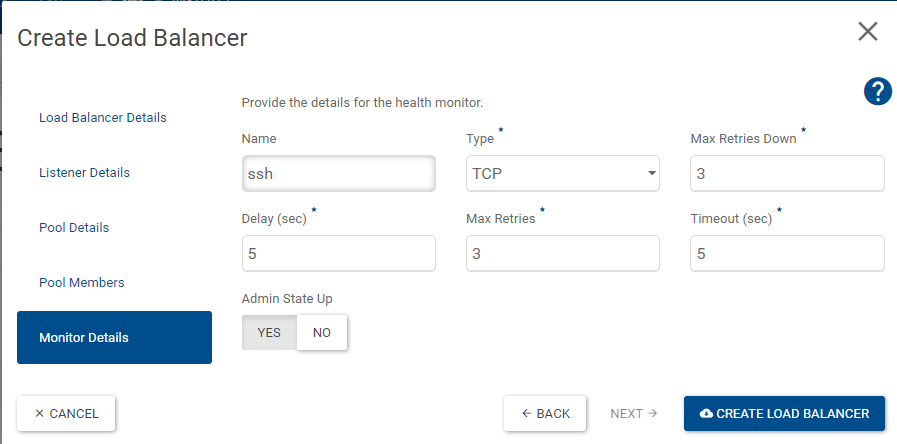
On the “Monitor Details” screen enter the name ssh and set the type to “TCP”. Click “Create Load Balancer”
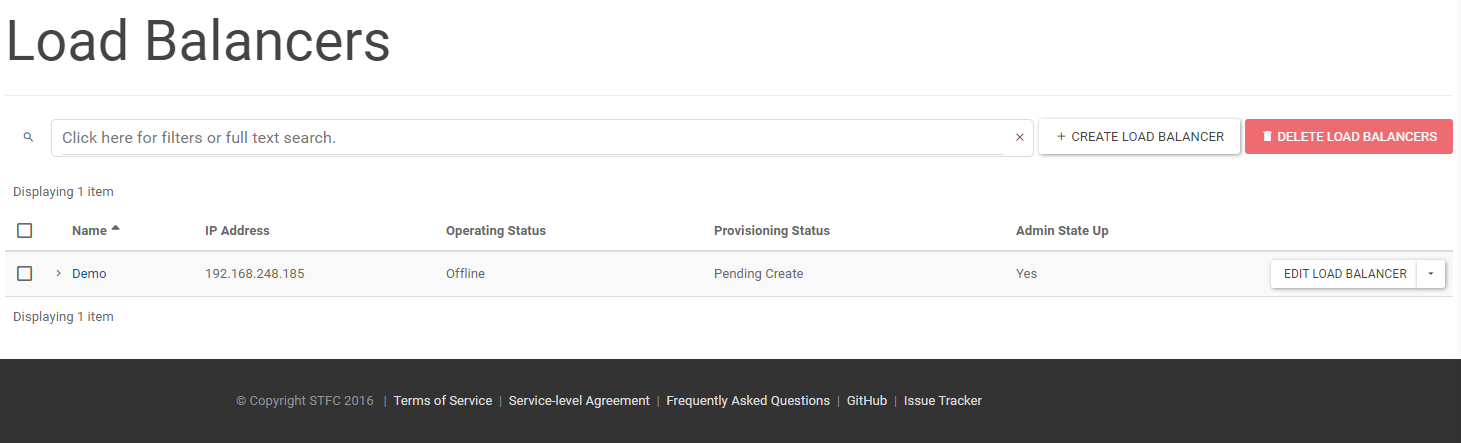
You will then see the loadbalancer that you created in the list with the Provisioning Status of “Pending Create”
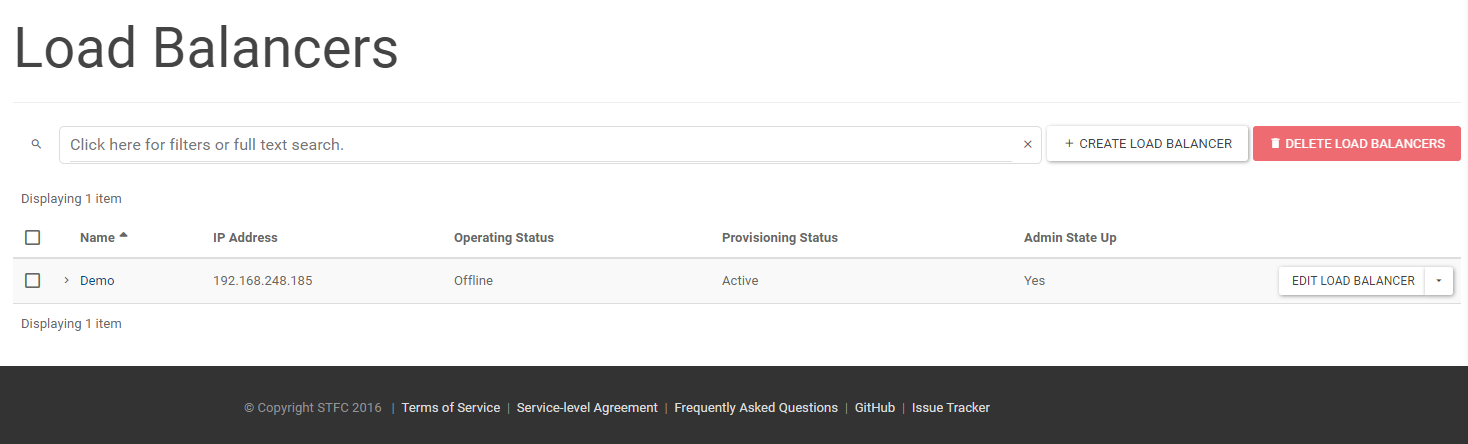
After a few minutes the Provisioning Status will be updated to “Active”
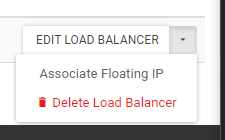
Now Click the arrow next to “Edit Load Balancer” and click “Associate Floating IP”
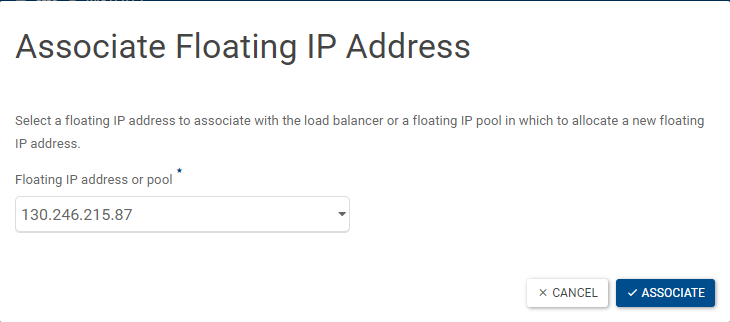
Select one of your floating IPs and then click “Associate”
You should now be able to ssh to your VM on port 200 of the IP you assigned to the load Balancer
ssh username@130.246.215.87 -p 200
Viewing details
If you click on the Name of the load balancer you can view details of the listerners and pools
Unfortunately a number of the “Operating Status” fields always report “Offline” even when they are online
You can add another Listener to this load balancer by hitting “Create Listener” and following similar steps to the above :ref: create_octavia_listener
Try using these steps to load balance access to the nginx webserver created in the other tutorial.
Explanation of terms
Algorithms:
Least connections - sends each connection to whichever pool member has the
Round Robin - sends connections to each backend node in return
Source IP - Sends connections to backend nodes based on the hash of the client’s IP
Session Persistence:
Source IP - Uses the hash of the client’s IP to maintain session persistence
HTTP Cookie - Session persistence based on http cookies
APP Cookie - Session persistence based on application cookies
Monitor Types:
HTTP - Checks for a configurable http response
HTTPS - Checks for a http 200. Requires that the certificate is trusted by the loadbalancer and we currently dont have a way to inject new CAs
PING - A simple ping test
TCP - A simple tcp handshake
TLS-HELLO - A tls handshake
UDP-CONNECT - Checks for an open udp socket.