Changing the DNS server for a Magnum Cluster
The default DNS server for a cluster generated by Magnum is 8.8.8.8, which is the Google Public DNS. You may wish to use your own DNS server, follow the steps below to update the DNS on the cluster subnet.
Via the Web Interface
Access the networks tab on the web interface.
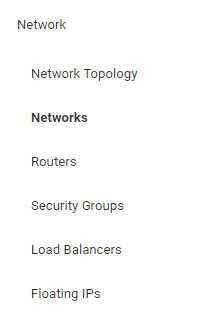
Select the network for your cluster. It should be named the same as your cluster
Go to the subnets tab
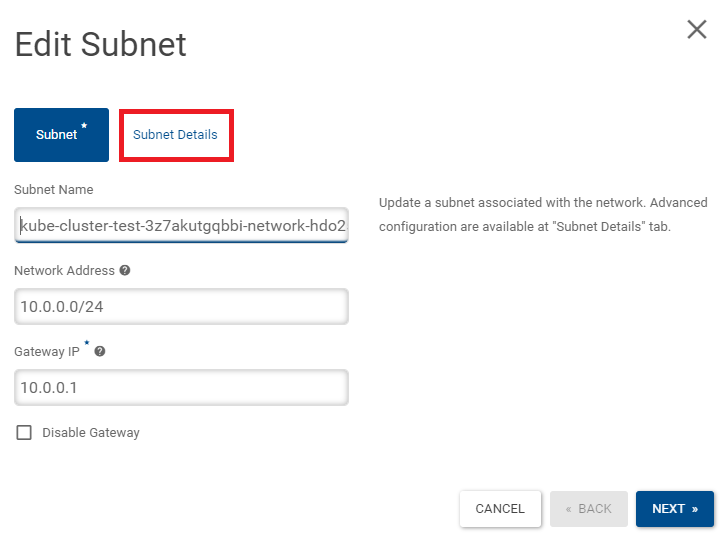
Select edit subnet

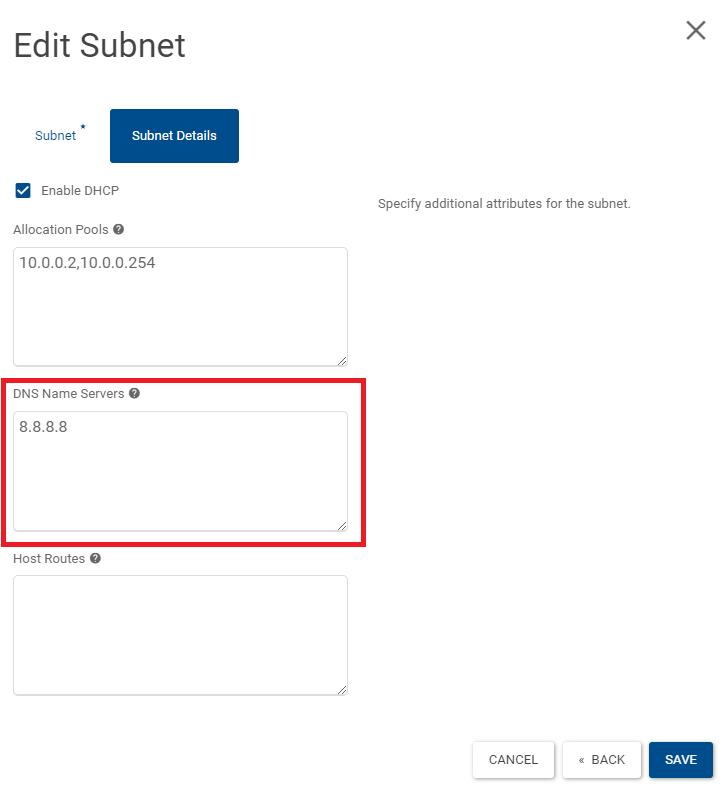
Select “Subnet Details”
Update the IP in DNS Name Servers to the IP of the DNS you wish to use and click save
Via the Command Line
Get a list of your networks with
openstack network list
Get the subnets in the network with the same name as your cluster
openstack subnet list --network <Name or ID of network>
If you want to add a new DNS to the subnet, and have multiple possible DNS servers run the following command
openstack subnet set --dns-nameserver <Additional DNS IP here> <Subnet name or ID>
If you want to replace the existing DNS with your own run the following command
openstack subnet set --no-dns-nameserver --dns-nameserver <DNS IP here> <Subnet name or ID>
The --no-dns-nameserver flag will remove the existing DNS IPs from the subnet before you add the new one. This ensures that there are not muliple DNS servers on your subnet.
You can add multiple DNS servers at once by repeating the flag. The following command will erase the existing DNS server and add two new ones.
openstack subnet set --no-dns-nameserver --dns-nameserver <DNS IP here> --dns-nameserver <Additional DNS IP here> <Subnet name or ID>