Adding Your SSH Key into the OpenStack Web Interface
Overview
This document describes how to add your public ssh key into the openstack ssh web user interface (https://openstack.stfc.ac.uk). It assumes you have already contacted cloud-support@stfc.ac.uk to either initiate a project, or to add user accounts to an existing project. It also assumes you already have an SSH key pair generated, and you just wish to add your existing public ssh key. You need to import you ssh public key into the Openstack web interface as then the system will inject your ssh public key (and username) into any Virtual machine that you create.
Procedure
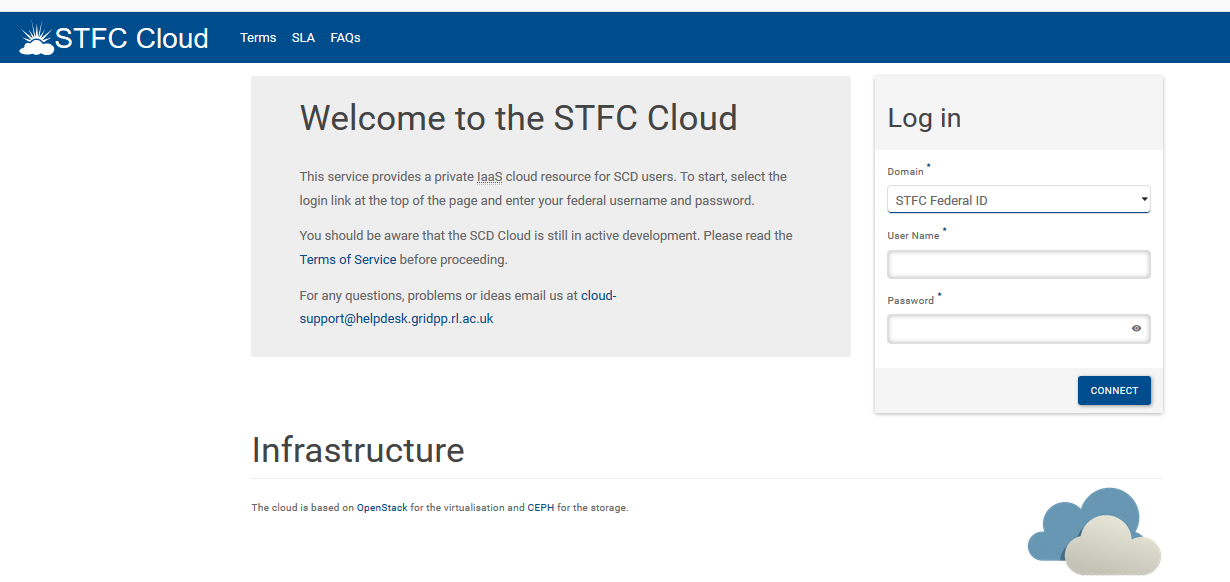
Login to the web site: https://openstack.stfc.ac.uk using the credentials you have been given. If you have a STFC FEDID account, make sure that you set the “Domain” to be “STFC Federal ID”:-
AddingSSHKeysInWebInterface
Once logged in, click on the Left Hand Side “Compute” option, and then “Key Pairs”. You should see a screen similar to below, with the exception that if this is your first time connecting in, no key pairs will be listed:-

If you do not already have an SSH key pair, you can use the “Create key pair” button. If you have an existing ssh key pair, you should click on the “Import Public Key” button. On doing so, a pop-up window will appear:-
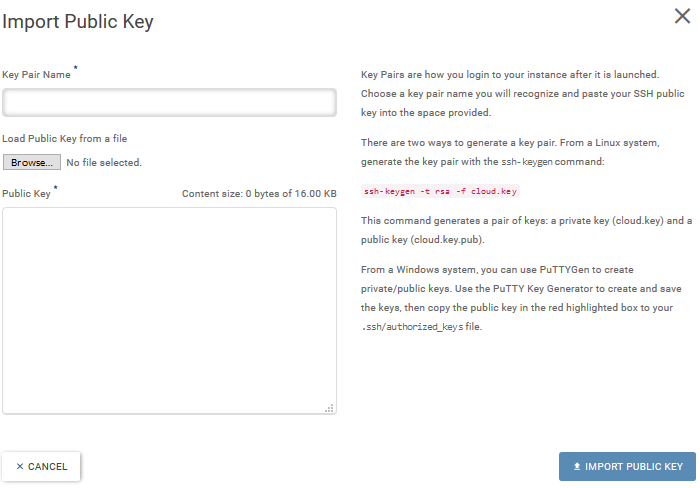
From here, you can cut and paste your “id_rsa.pub” key (often found on a linux host you already have ssh access to, in the ~/.ssh directory – you can run “cat authorized_keys” to display the key and then cut and paste it into the web-browser window. Give the key pair a name as well. NOTE: Be very careful with pasting the key, or importing it via the file “Browse” button: SSH keys are very sensitive to any of the characters being incorrect, including line feed characters – the key should be one continuous line, without spaces, Carriage Returns or Line Feed characters